Crafting Holiday Memories: The Santa Squad Photo Frame Shadow Box Project
As the holiday season approaches, many of us find ourselves searching for meaningful ways to capture and display the joy of Christmas past. While traditional photo albums gather dust on shelves, there is a growing trend toward interactive, three-dimensional decor that brings memories to life. Enter the Santa Squad Photo Frame Shadow Box, a delightful DIY project designed specifically for owners of laser cutters like Glowforge®, xTool®, OMTech®, and even those utilizing vinyl cutters like Cricut® or Silhouette®. This project bridges the gap between digital design files and tangible, heartwarming home decor.
This article explores the intricacies of creating this layered shadow box, explaining not just how to assemble it, but why this type of project has become a staple in modern maker culture. Whether you are a seasoned laser engraving enthusiast or a beginner looking to expand your creative toolkit, understanding the mechanics and artistic potential of the Santa Squad frame will empower you to create something truly unique.
The Art of Layered Shadow Boxes
To understand the appeal of the Santa Squad project, one must first appreciate the concept of the shadow box. Unlike a standard flat picture frame, a shadow box utilizes depth to create a sense of dimension. By layering different materials—such as a backer board, a mat, and decorative accents—you transform a two-dimensional photograph into a scene that feels almost alive.
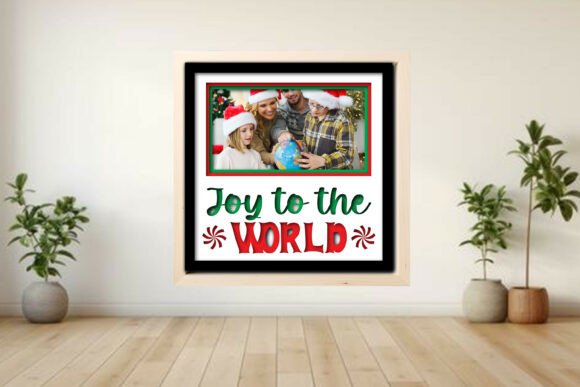
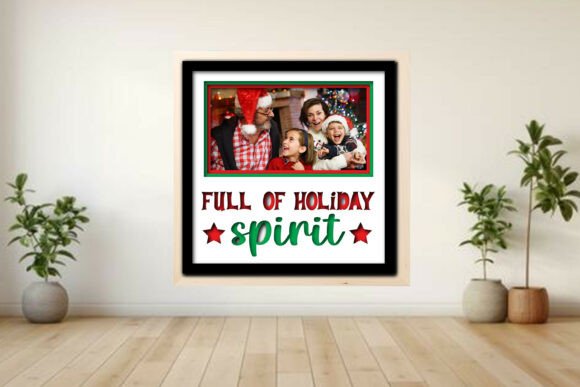
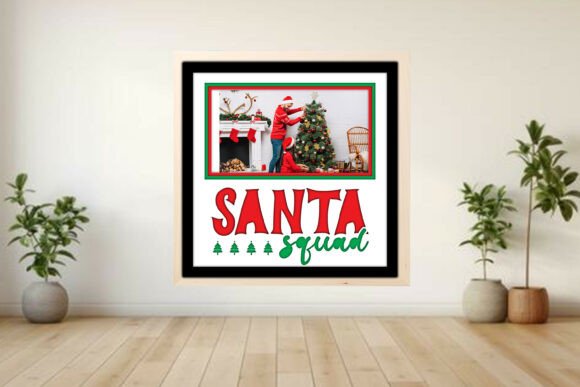
The Santa Squad design takes this concept further by incorporating thematic elements. It typically features a festive tree, twinkling stars, and the playful text "Santa Squad," all arranged to frame a cherished family photo. The result is a piece of art that tells a story, combining the nostalgia of a specific holiday with the whimsical spirit of the season. This approach to decor is particularly relevant today, where consumers value personalization and handmade quality over mass-produced items found in big-box stores.
Why Choose a Laser-Cut Design?
While you could theoretically build a similar frame using hand tools, the precision offered by laser cutting technology makes this project accessible and professional-looking. Machines like the Glowforge and xTool allow for intricate cuts and clean edges that would be difficult to achieve manually. Furthermore, the ability to score and engrave in a single pass streamlines the workflow significantly.
For those who do not own a laser cutter, the versatility of the file set is crucial. The inclusion of compatible formats for Cricut and Silhouette means that users can cut the decorative layers from cardstock or thin wood veneers, while the structural components might require a different method or a pre-cut kit. This flexibility ensures that the project remains inclusive for various levels of crafting capability.
Understanding the File Ecosystem: Formats and Compatibility
One of the most common hurdles for beginners entering the world of digital crafting is navigating the myriad of file formats. The Santa Squad project package is comprehensive, providing SVG, DXF, PDF, EPS, PNG, and LBRN2 files. Understanding what each of these does is essential for a successful project.
- SVG (Scalable Vector Graphics): Ideal for vector-based software like LightBurn, Inkscape, or Adobe Illustrator. These files maintain their quality regardless of how much you scale them up or down, making them perfect for resizing the frame to fit different photo dimensions.
- DXF: Another vector format widely supported by CAD software and laser cutting machines. It is often used when precise geometric data is required.
- LBRN2: This is a proprietary file format for LightBurn software. If you use LightBurn, this file offers the ultimate convenience, as it contains pre-set layers, colors, and power/speed settings tailored for the project.
- PNG and PDF: These are raster or document formats useful for visualizing the final design or printing assembly guides, though they are not typically used for the actual cutting process.
A key feature of the LBRN2 file is its color-coding system. In laser cutting workflows, colors dictate the machine's action. Typically, red lines indicate cutting paths, blue lines represent scoring (where the material is partially cut to allow folding), and black areas denote engraving. This intuitive system reduces the learning curve, allowing users to focus on creativity rather than technical configuration.
Customization: Making the Frame Uniquely Yours
The true beauty of the Santa Squad project lies in its adaptability. The design is fully scalable, meaning you are not locked into a single size. Whether you have a small 4x6 snapshot or a large panoramic print, you can adjust the dimensions of the frame layers to fit perfectly.
Furthermore, the project offers multiple layout options to suit your specific needs:
- Single Photo Layout: Perfect for highlighting one standout memory from the year.
- Two or Three Photo Layouts: Ideal for showing a progression of events or capturing a group dynamic.
- Six Photo Layout: A collage style that allows you to showcase an entire week of holiday activities or a collection of family portraits.
This modularity addresses a common frustration with store-bought frames: the lack of fit. By designing the frame around your photos, rather than forcing your photos into a rigid frame, you ensure a polished, professional finish every time.
Material Selection and Safety
When embarking on this project, material choice is paramount. The instructions recommend testing on 3 mm plywood, which is a popular choice due to its stability and ease of cutting. However, it is vital to remember that every laser machine behaves differently. Factors such as lens focal length, tube age, and airflow can affect the cut quality.
Always run a material test first. Before committing to your precious wood stock, cut a small square to verify your power and speed settings. This simple step prevents wasted materials and ensures that your scoring lines fold cleanly without breaking through the wood. Additionally, if you choose to engrave text or details, ensure you are using a material free of toxic additives, as burning certain plastics or treated woods can release harmful fumes.
Assembly and Finishing Touches
Once the pieces are cut and scored, the assembly process transforms the flat components into a three-dimensional masterpiece. The included Simple Assembly Guide PDF walks you through the steps, but the general principle involves folding along the blue score lines and adhering the layers together.
Start with the backer board, which serves as the foundation. Next, attach the mat layer, ensuring the photo opening is aligned correctly. Then, carefully position the "Santa Squad" text, the tree, and the star accents. Because these are separate layers, you can experiment with spacing to create varying degrees of depth. Using double-sided foam tape instead of standard glue can enhance the 3D effect by lifting the top layers slightly off the base.
For a truly finished look, consider sanding the edges lightly to remove any char marks left by the laser. You might also stain or paint the wood to match your existing holiday decor. The possibilities for customization extend beyond the initial cut, allowing you to integrate glitter, ribbons, or even small LED lights for a magical glow.
Common Misconceptions and Clarifications
Before purchasing the digital download, it is important to clarify what is and isn't included to manage expectations. First and foremost, this is a digital download only. No physical product will be shipped to your door. You receive the files necessary to create the project yourself. This model is cost-effective and eco-friendly, reducing shipping waste, but it requires you to have access to the appropriate machinery and materials.
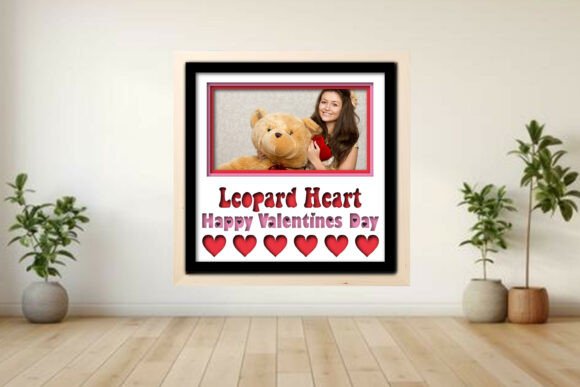
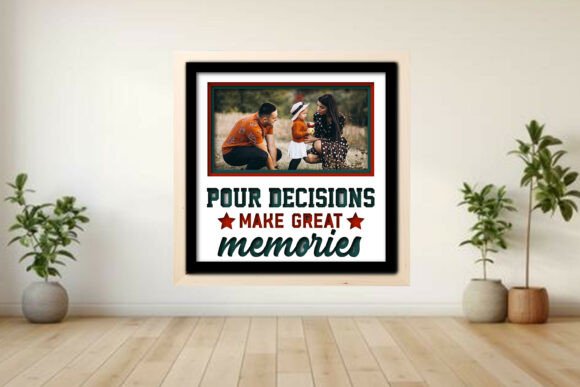
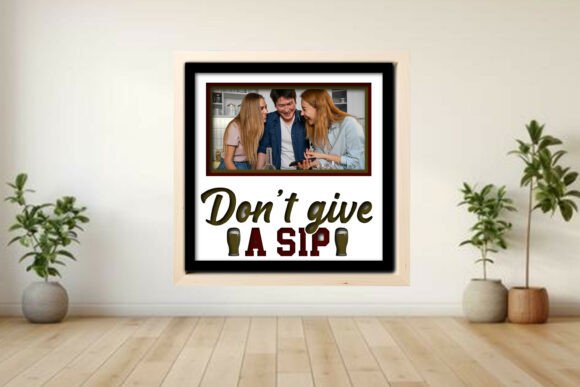
Additionally, the mock-up images shown in product listings often feature beautiful photographs within the frame. These photos are for demonstration purposes only and are not included in the download. You will need to provide your own cherished memories to complete the project.
Another common assumption is that the settings provided in the LBRN2 file will work perfectly on every machine immediately. While the files are tested and optimized, variables such as wood density, moisture content, and machine calibration mean that minor adjustments may be necessary. Viewing the provided settings as a starting point rather than a final rule will lead to better results.
Conclusion: Bringing Technology and Tradition Together
The Santa Squad Photo Frame Shadow Box represents more than just a craft project; it is a celebration of the intersection between modern technology and timeless tradition. By leveraging the precision of laser cutters and the versatility of digital design files, creators can produce high-quality, personalized gifts that carry emotional weight.
Whether you are making this for your own home, gifting it to a friend, or selling it as part of a small business, the process fosters creativity and technical skill. It encourages us to slow down during the busy holiday season and invest time in creating something tangible. As you explore the layers of this project—from the scalable SVG files to the final assembly—you will discover that the greatest gift of all is the memory itself, beautifully framed and ready to be enjoyed for years to come.
So, fire up your Glowforge, xTool, or favorite cutter, load up your 3mm plywood, and start building your own Santa Squad. With the right files and a bit of patience, you are well on your way to creating a holiday centerpiece that will be talked about at every gathering.