Pour Decision Make: Crafting a Layered Shadow Box Photo Frame for Lasting Memories
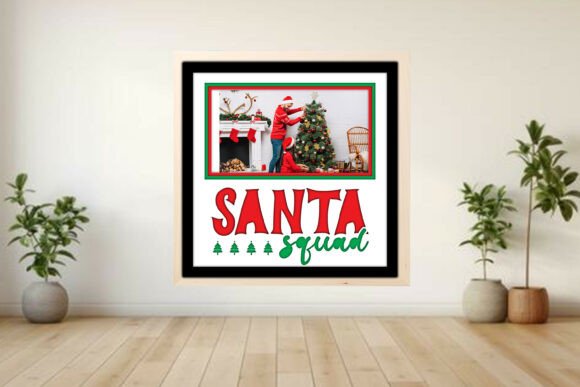
In the digital age, where photos often remain trapped in cloud storage or on phone screens, there is a growing desire to bring memories back into our physical spaces. The Pour Decision Make project offers a unique solution to this modern dilemma. It is not just a craft; it is an invitation to curate your history into a tangible, three-dimensional piece of art. By combining the precision of laser cutting with the warmth of layered design, this project transforms simple plywood into a stunning shadow box that celebrates the "Santa Squad" and cherished Christmases past.
This guide explores how to utilize the Pour Decision Make design files to create a beautiful, layered photo frame using machines like Glowforge®, xTool®, OMTech®, Cricut®, and Silhouette®. Whether you are a seasoned maker or a beginner looking to dip your toes into the world of laser engraving, this project bridges the gap between technical skill and heartfelt creativity.
The Art of the Layered Shadow Box
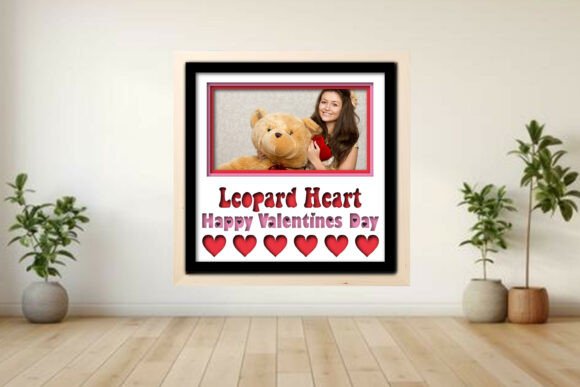
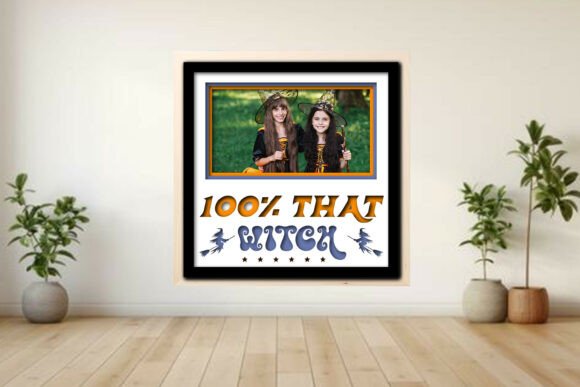
What makes a shadow box different from a standard picture frame? The answer lies in depth. A traditional frame flattens a memory against glass, but a shadow box creates a stage. The Pour Decision Make design leverages this concept by separating the frame, the mat, the backer, and decorative accents into distinct layers. When assembled, these layers cast subtle shadows that give the piece a rich, 3D effect impossible to achieve with a single sheet of material.
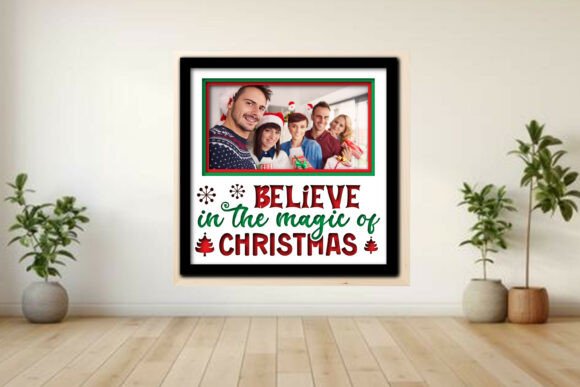
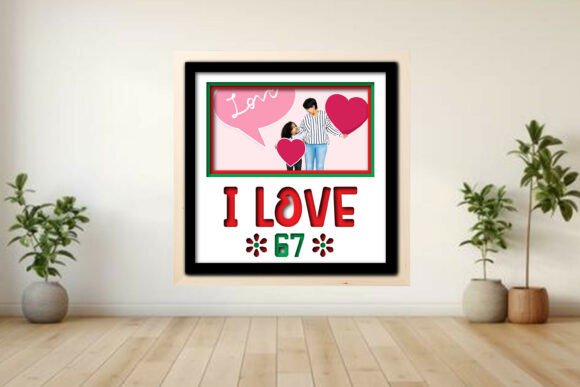
This layered approach serves a dual purpose. First, it enhances the visual appeal, drawing the eye deeper into the composition. Second, it provides a structured way to display multiple memories. With options for 1, 2, 3, or 6 photo layouts, you can choose to feature a single iconic moment from last Christmas or create a collage that tells the story of a decade of holidays. This flexibility allows the project to evolve with your family's history.
Why Laser Cutting is the Ideal Medium
While traditional woodworking requires saws, sanders, and complex joinery, laser cutting streamlines the process while maintaining high precision. The Pour Decision Make files are specifically optimized for laser systems, ensuring that intricate details like the "Santa squad" cutouts and star accents are rendered perfectly.
- Precision: Lasers cut through wood with millimeter accuracy, ensuring that the interlocking parts of the frame fit together seamlessly without gaps.
- Detail: Fine texturing and delicate shapes, such as the tree accents, can be achieved easily without the risk of chipping common in manual cutting.
- Efficiency: What might take hours to build by hand can be produced in minutes, allowing you to focus on assembly and personalization.
Furthermore, the versatility of the file formats included—SVG, DXF, PDF, EPS, PNG, and LBRN2—means that regardless of your software preference, you can import the design directly into LightBurn, Glowforge Design Space, or other compatible platforms. This universality makes the project accessible to a wide range of makers.
Understanding the Design Files and Workflow
To successfully execute the Pour Decision Make project, it is crucial to understand the components provided in the digital download. This is not a physical kit; rather, it is a set of instructions and vector data that empowers you to manufacture the product yourself. This distinction is vital for managing expectations and ensuring you have the necessary tools before beginning.
Decoding the Color-Coded Layers
One of the most helpful features of this design is its color-coding system, which simplifies the setup process within your laser software. Each color corresponds to a specific action required by the machine:
- Red Lines (Cut): These lines instruct the laser to fully cut through the material, separating the frame, mats, and decorative elements from the surrounding plywood.
- Blue Lines (Score): Scoring creates a shallow groove in the wood. In this project, score lines are essential for folding or snapping tabs into place without breaking the material, ensuring a clean structural integrity.
- Black Lines (Engrave): If you wish to add custom text, dates, or patterns to the frame, the black lines indicate where the laser should etch the surface rather than cut through it.
By adhering to this color scheme in your software settings, you avoid common mistakes such as accidentally cutting through a tab meant to hold the frame together or engraving too deeply and weakening the structure.
Compatibility Across Machines and Brands
A significant advantage of the Pour Decision Make project is its broad compatibility. The digital files are designed to work with the industry's leading desktop laser cutters and vinyl cutters.
Laser Cutters: Glowforge, xTool, and OMTech
For those using CO2 lasers like the Glowforge®, fiber lasers like the xTool®, or diode lasers from OMTech, the workflow is straightforward. You will typically load the SVG or DXF file into your machine's interface. For LightBurn users, the included LBRN2 file provides a pre-configured project with suggested power and speed settings for 3 mm plywood.
Important Note: While the LightBurn file offers excellent starting points, every machine behaves differently based on its lens, power output, and airflow. It is imperative to run a material test strip before committing to the full cut. Adjusting your settings ensures a clean cut without excessive burning or charring, preserving the natural beauty of the wood grain.
Vinyl Cutters: Cricut and Silhouette
While the primary intent of the project is laser cutting, the design files also include score lines compatible with Cricut® and Silhouette® machines. If you do not own a laser cutter, you can use these devices to cut the outer shapes of the frame from materials like cardstock, thin acrylic, or even balsa wood (depending on your blade type). The score lines allow you to fold the pieces into a 3D shape manually. However, for the authentic wood finish and the deep shadow effect described in the original concept, a laser cutter remains the superior tool.
Assembly and Personalization
Once your pieces are cut and scored, the assembly process is where the magic truly happens. The included simple assembly guide PDF walks you through stacking the layers. Typically, you will start with the backer board, followed by the photo mat, then the frame layers, and finally the decorative accents like the tree and stars.
This is also the perfect time to insert your photos. Because the layout supports 1, 2, 3, or 6 images, you have creative freedom. Consider using photos from different years to show the growth of your children, or select images that capture the evolution of your holiday traditions. The "Santa squad" accent adds a whimsical touch, making it an ideal centerpiece for holiday decor.
Common Misunderstandings to Avoid
Before diving in, it is important to clarify a few assumptions that often trip up first-time buyers of digital downloads:
- No Physical Product: Remember, you are purchasing a digital file. No wooden frame, glue, or photos are included. You must source your own 3 mm plywood (or similar thickness) and adhesives.
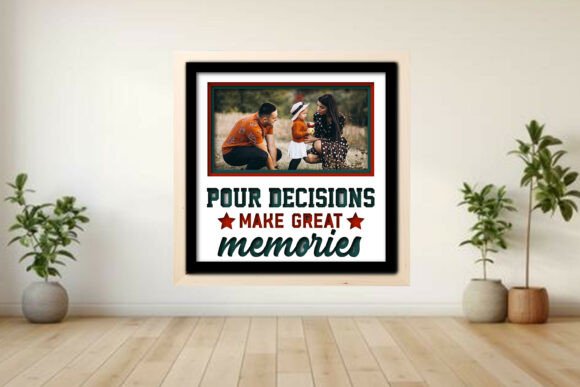
- Mocks vs. Reality: The promotional images showing finished frames with photos inside are mockups for visualization purposes only. Your final result will depend on the quality of your photos and your assembly skills.
- Scalability: The design is fully scalable. If you want a larger frame for a living room mantel or a smaller one for a desk, you can adjust the dimensions in your software. Just remember that changing the size may require re-testing your laser settings.
The Significance of Handcrafted Holiday Decor
In a world mass-produced goods, creating your own holiday decor holds a special significance. The Pour Decision Make project is more than just a DIY activity; it is an act of preservation. By taking the time to cut, assemble, and fill this frame with memories, you are investing emotional value into the object.
This project fits seamlessly into modern life by offering a tech-forward way to engage in traditional crafting. It appeals to the maker movement's ethos of "do it yourself" while providing the professional finish that commercial products offer. For families, it becomes a ritual—a way to gather, review photos, and discuss the stories behind them while building something together.
Moreover, the ability to customize the layout means that no two frames are exactly alike. One family might choose a six-photo grid to honor grandparents, parents, and children, while another might opt for a single, large portrait of their favorite holiday tradition. This personalization ensures that the decor reflects your unique identity.
Conclusion: Making Great Memories Tangible
The Pour Decision Make layered shadow box project stands out as a versatile, engaging, and rewarding endeavor for creators of all levels. By leveraging the power of laser cutting technology and the timeless appeal of photo framing, it offers a beautiful way to celebrate the holidays and honor the past.
Whether you are using a Glowforge, xTool, OMTech, or adapting the design for a Cricut, the end result is a charming, personalized piece of decor that brings warmth to your home. The combination of precise digital files, clear assembly instructions, and flexible design options makes this project an accessible entry point into the world of advanced crafting. So, gather your photos, fire up your machine, and pour your decision into making great memories that will last for generations.
Ready to start? Download the files, prepare your 3 mm plywood, and let the light burn transform your memories into art.